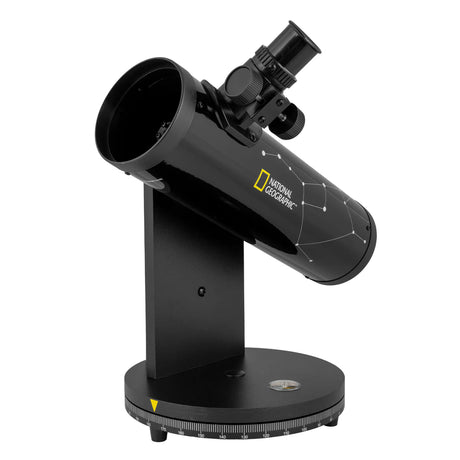
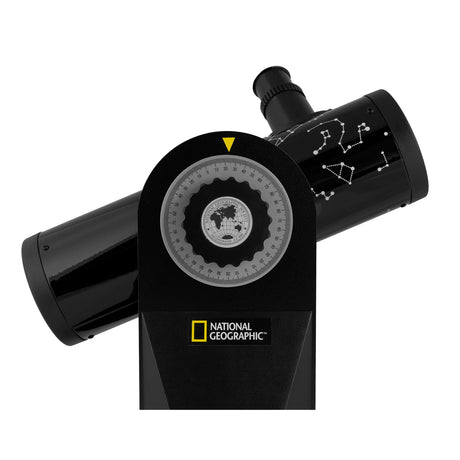
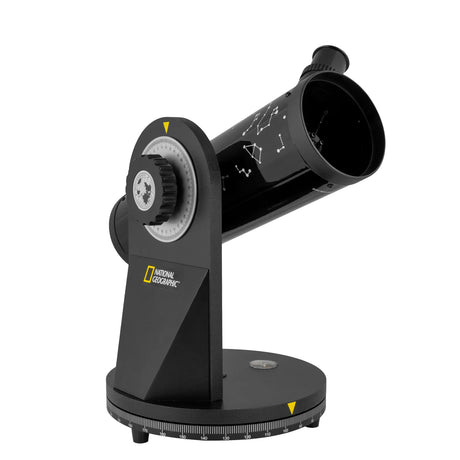
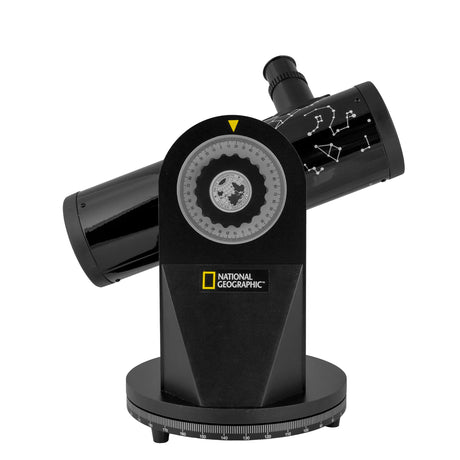
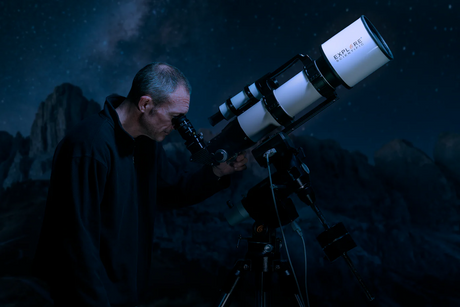
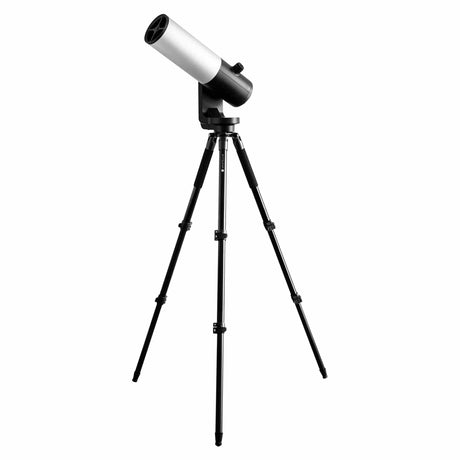
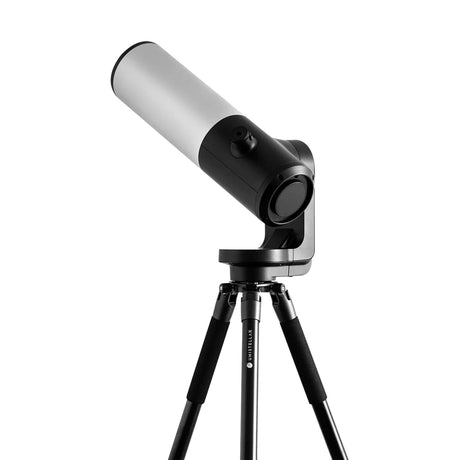
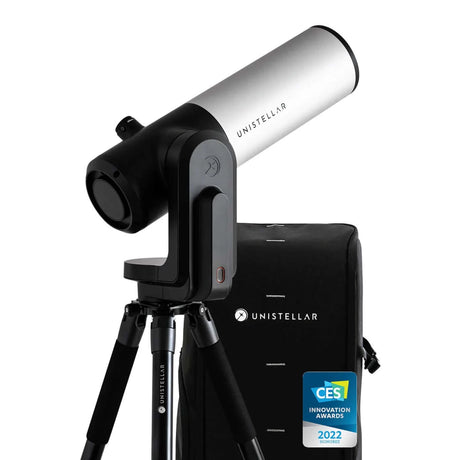
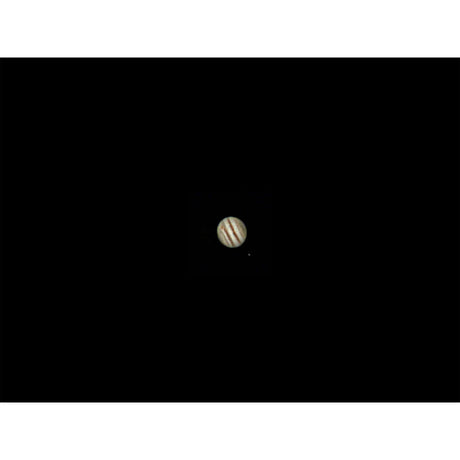
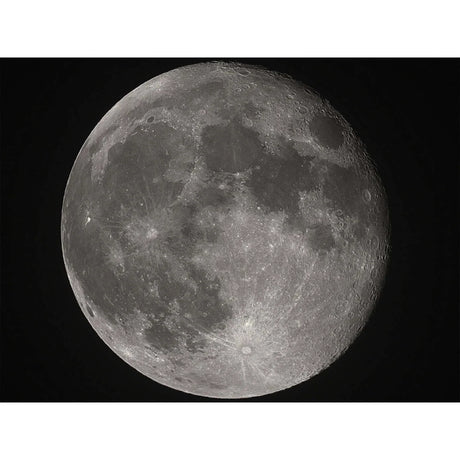
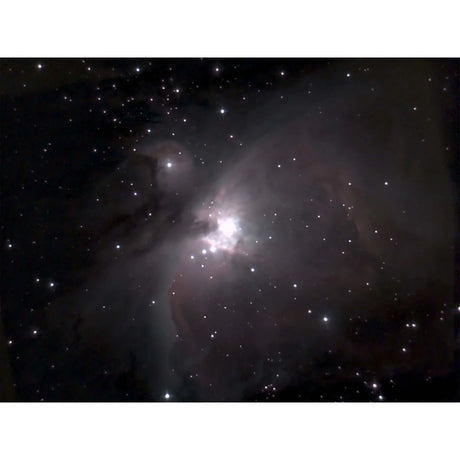
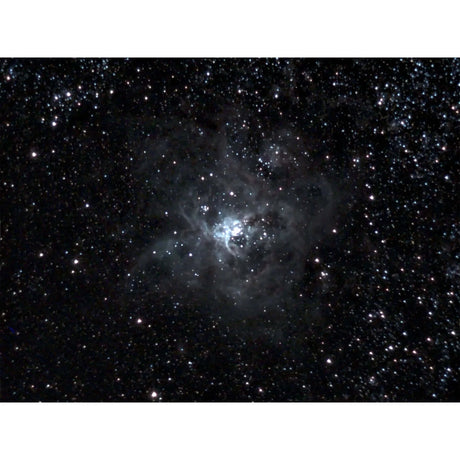
Ready to dive into stargazing but not sure which telescope to get? Don’t worry—we’ve got you covered!
This 2026 Telescope Buyer’s Guide is made just for beginners like you. We’ll walk you through everything you need to know, from the different types of telescopes to what features really matter (without getting too technical).
Whether you want to check out the moon’s craters or catch a glimpse of distant planets, we’ll help you find the perfect telescope to kick off your stargazing adventure!
Telescope 101: Understanding the Basics
Types of Telescopes: What’s the Difference?
There are three main types of telescopes, and each one has its pros and cons. Here’s a quick rundown:
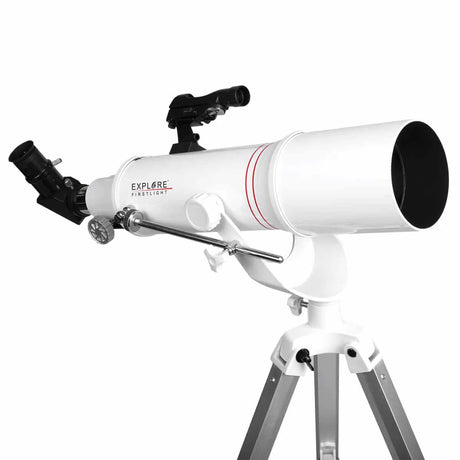
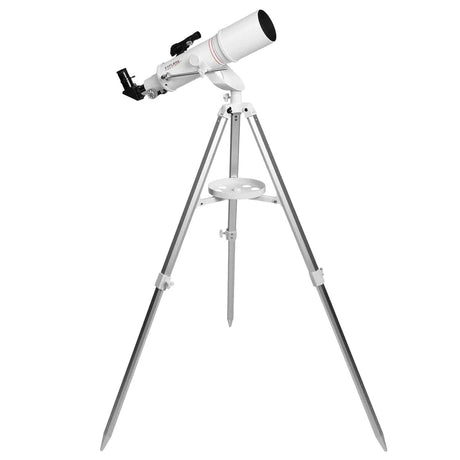
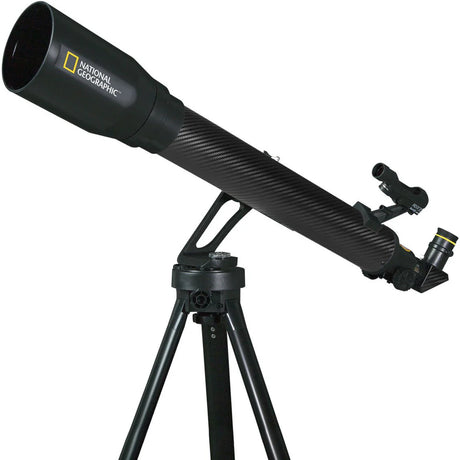
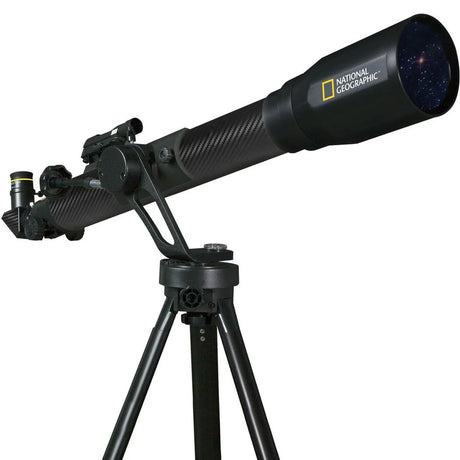
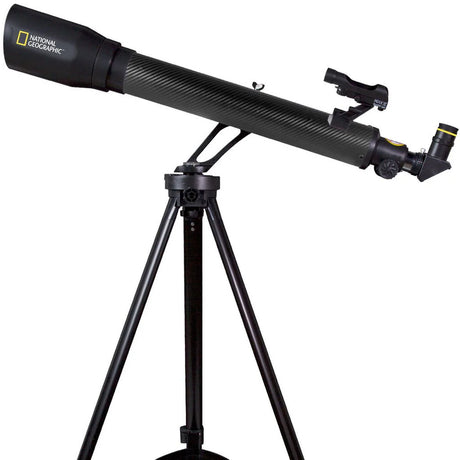
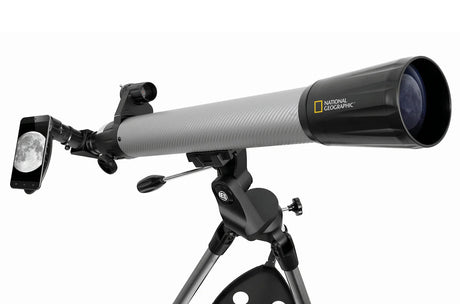
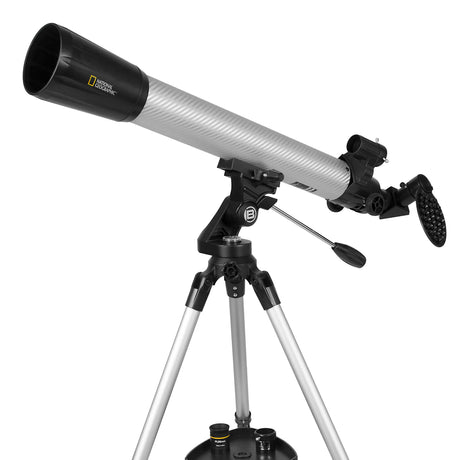
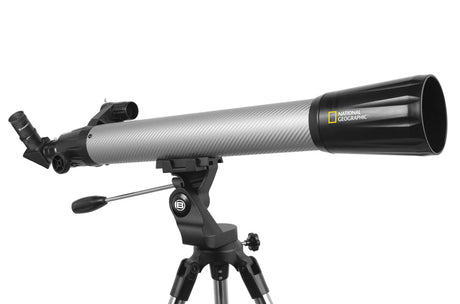
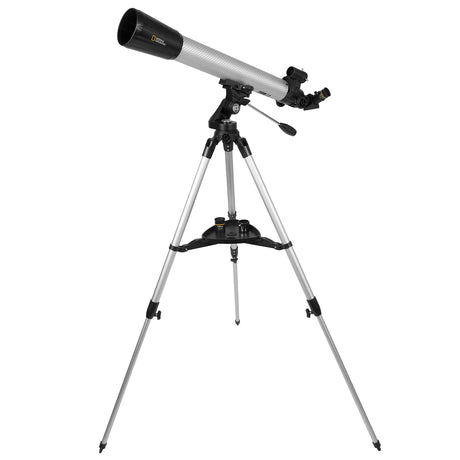
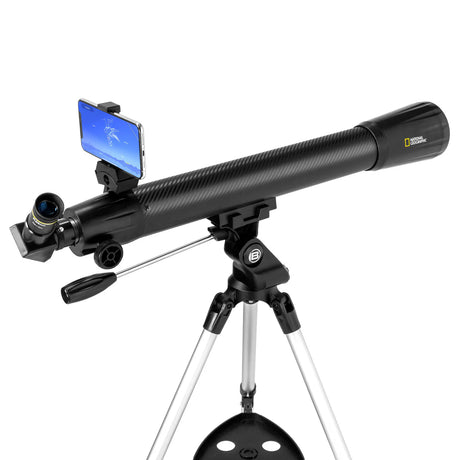
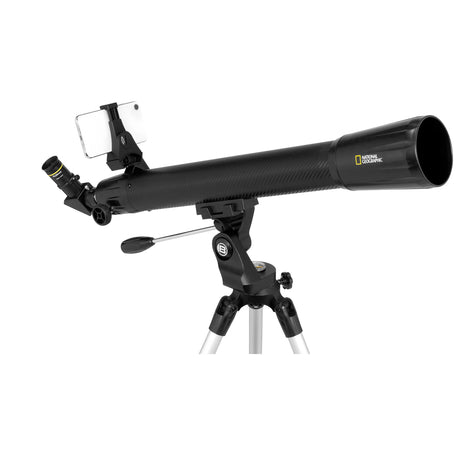
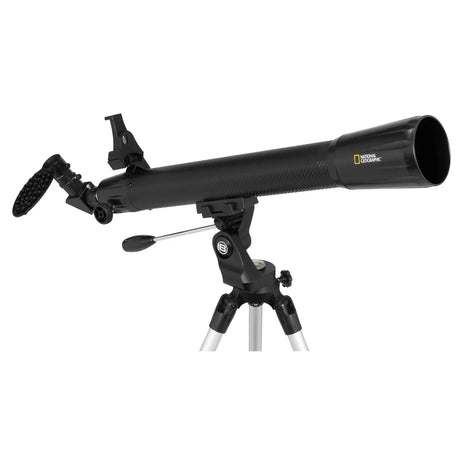
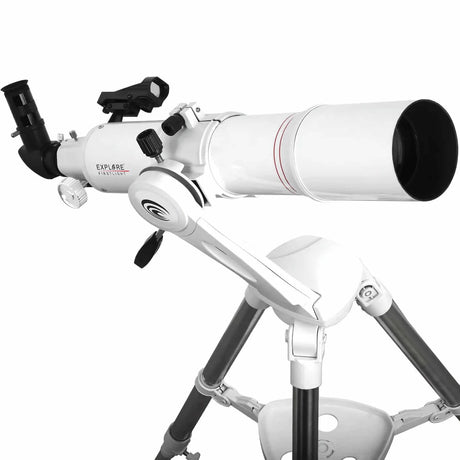
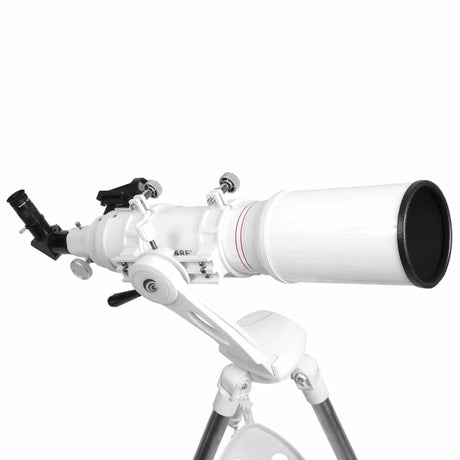
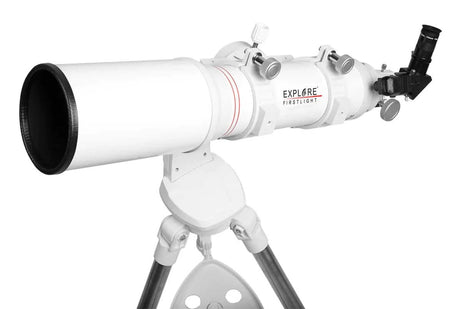
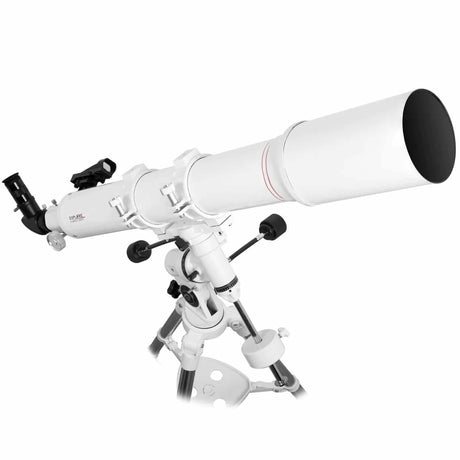
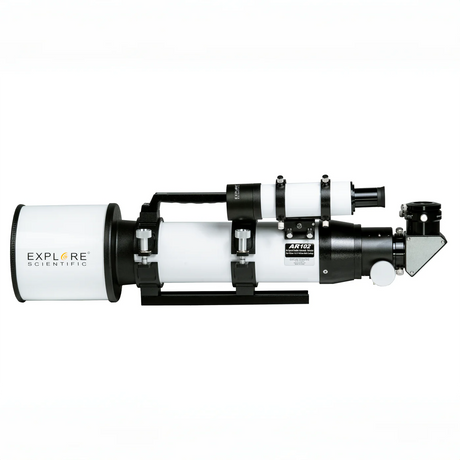
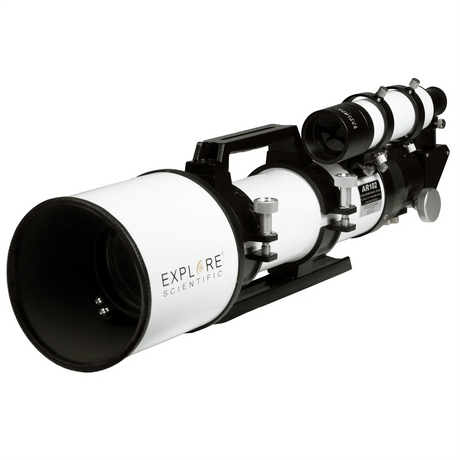
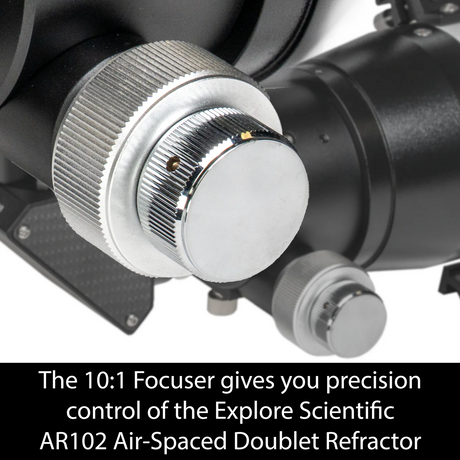
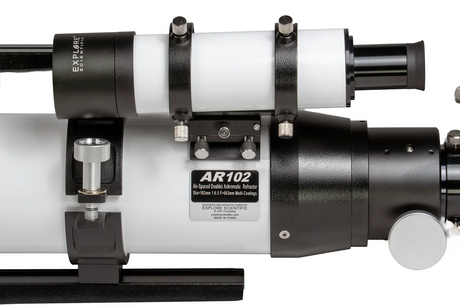
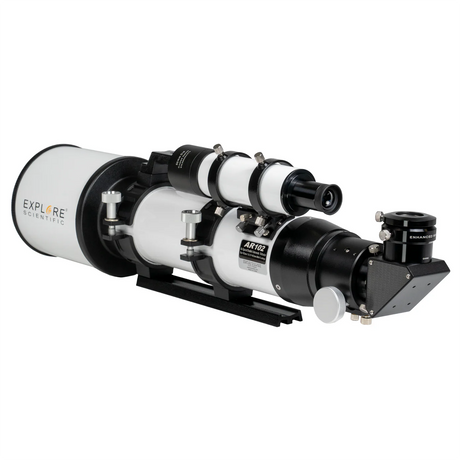
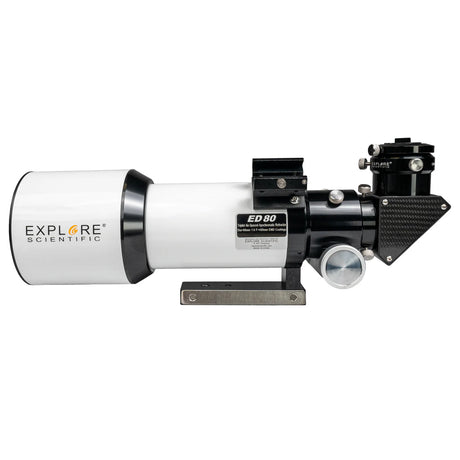
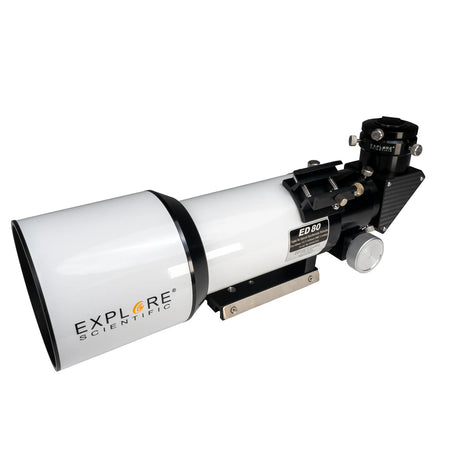
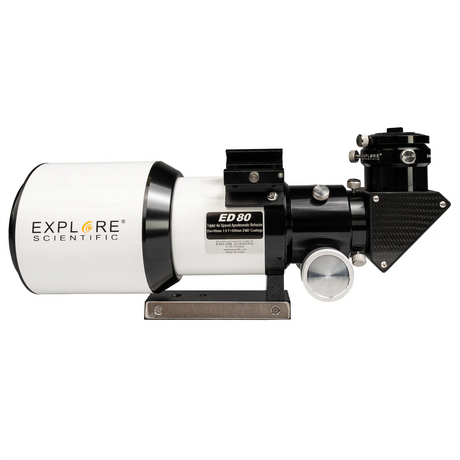
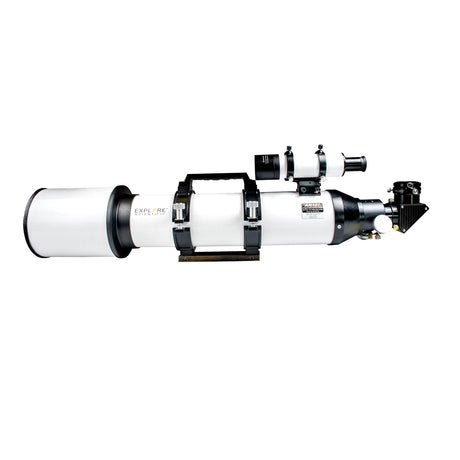
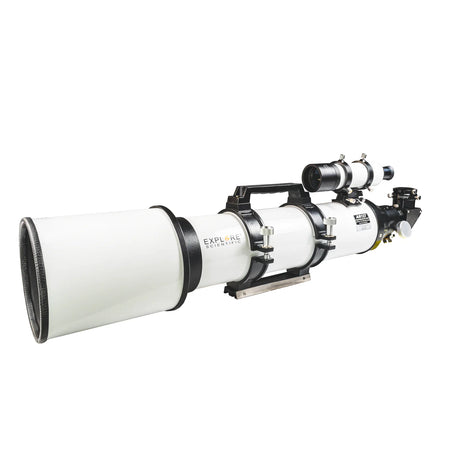
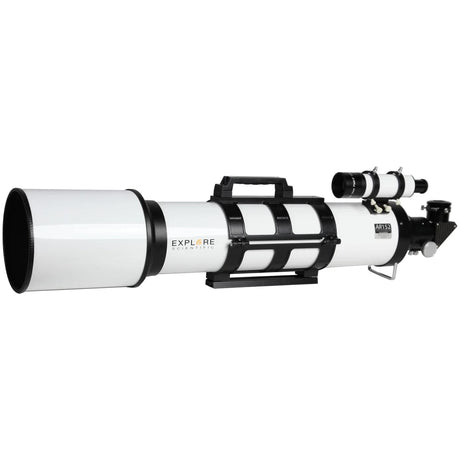
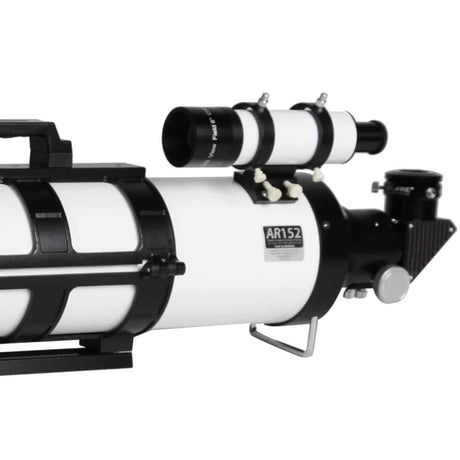
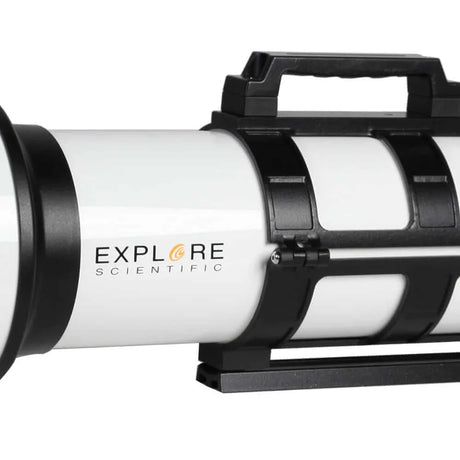
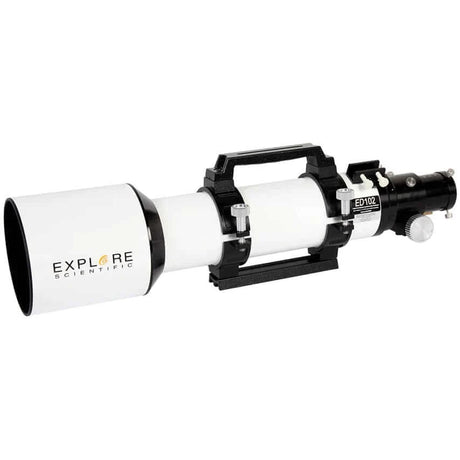
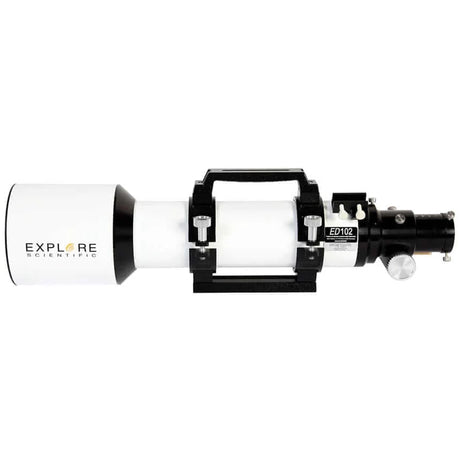
- Refractor Telescopes: These are the classic tube-shaped telescopes you might picture when you think of stargazing. They’re great for beginners because they’re simple to use and require little maintenance. Refractors are excellent for viewing planets and the moon but tend to be pricier at larger sizes.
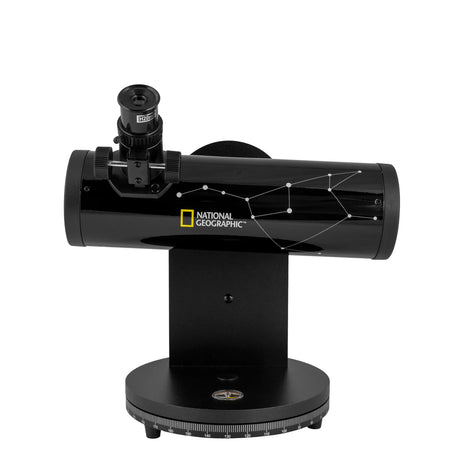
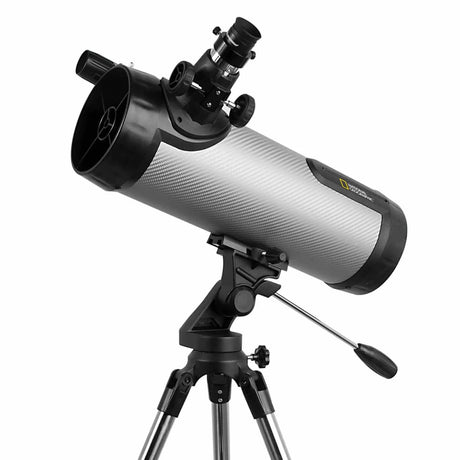
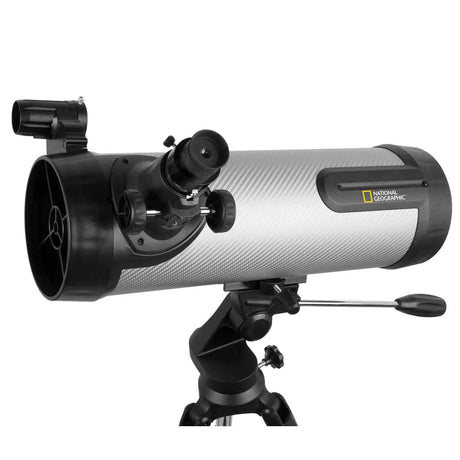
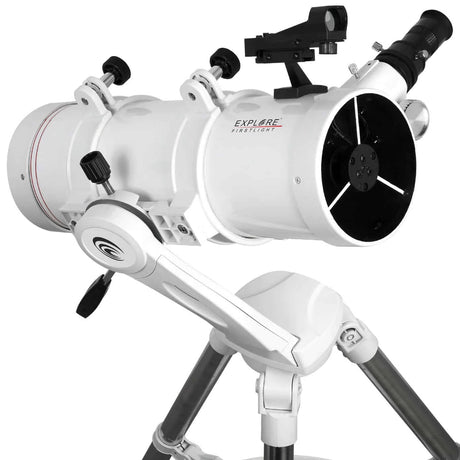
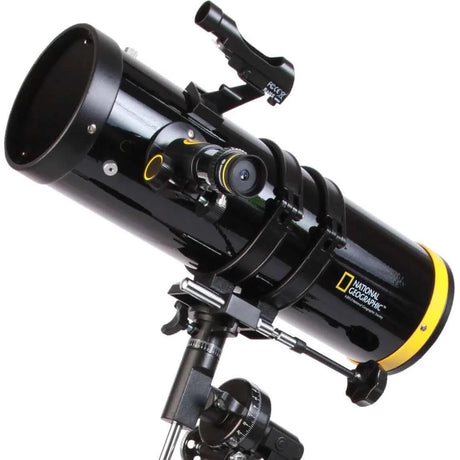
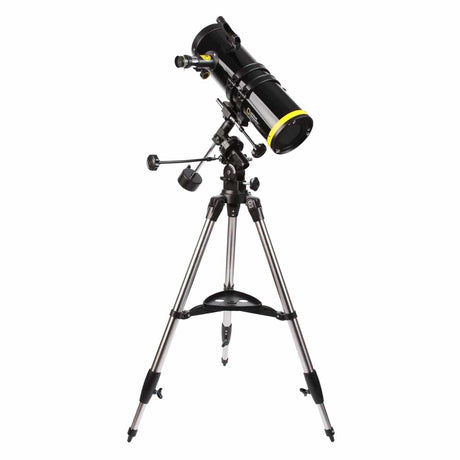
- Reflector Telescopes: Instead of lenses, reflectors use mirrors to gather light. This makes them more affordable for larger apertures (which means you can see fainter, more distant objects). They’re perfect if you want to dive into deep-sky viewing, like galaxies and nebulae, but they do need occasional mirror adjustments (called “collimation”).
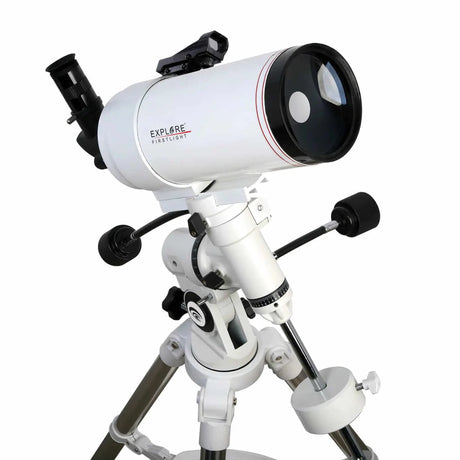
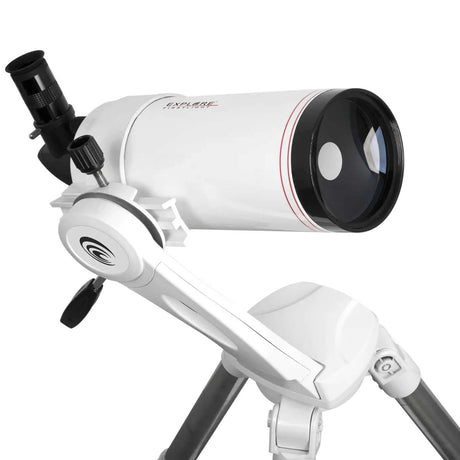
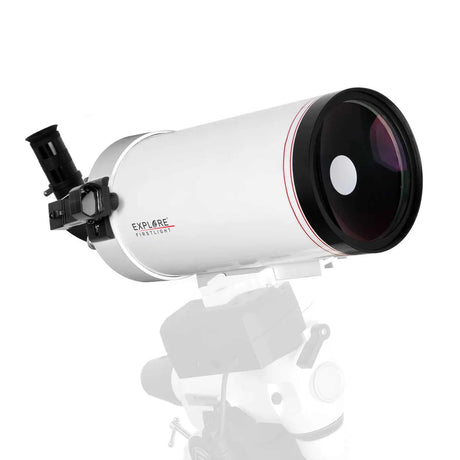
- Compound (or Catadioptric) Telescopes: These are a hybrid of refractor and reflector designs, giving you the best of both worlds. They’re compact and versatile but can be more expensive. If you want a telescope that does a bit of everything—from planets to deep-sky objects—this is a good choice.
Aperture: The Most Important Feature
The aperture is the diameter of the telescope’s main lens or mirror, and it’s the single most important factor when choosing a telescope. In simple terms, a larger aperture lets you see fainter objects and more details.
For beginners, a good rule of thumb is to look for an aperture of at least 4 to 6 inches (100 to 150 mm). This size strikes a balance between affordability, portability, and the ability to see interesting celestial objects clearly.
Focal Length and Magnification: How Much Zoom Do You Really Need?
Magnification might sound like the most important thing, but it’s actually not. The focal length is what controls magnification, but here’s the catch: higher magnification doesn’t always mean better views. Too much magnification can make objects blurry, especially with small telescopes.
Look for a telescope that provides a moderate magnification—enough to see the planets and the moon clearly without sacrificing image quality. Most telescopes come with eyepieces that offer around 50x to 100x magnification, which is perfect for beginners.
Mount Types: Keeping Your Telescope Steady
The mount is what holds your telescope steady and allows you to track objects in the sky. There are two main types:
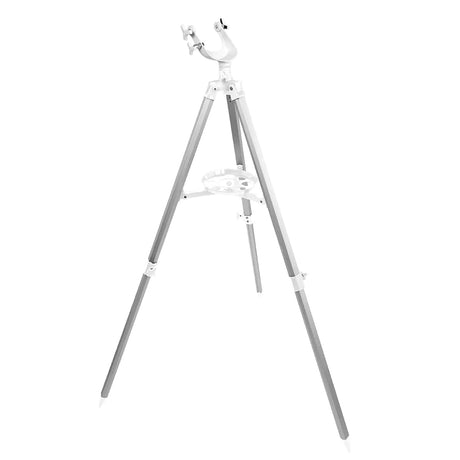
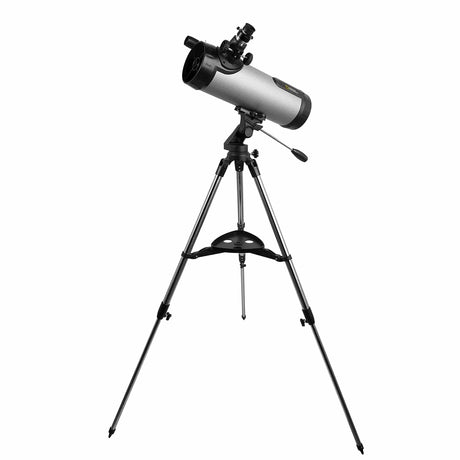
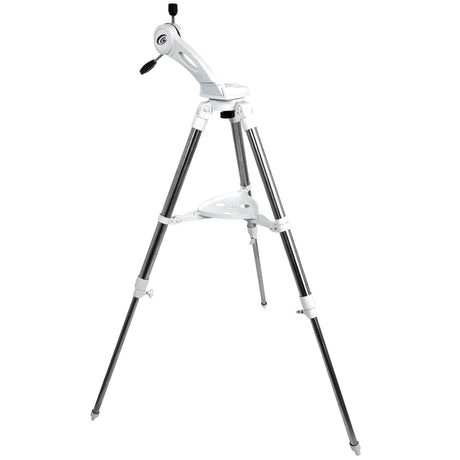
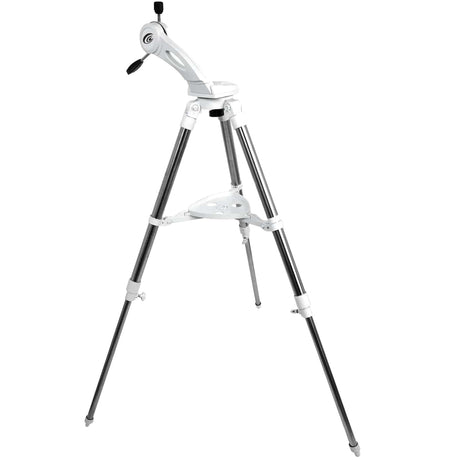
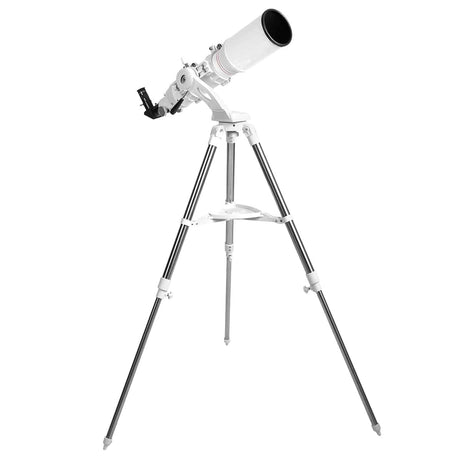
- Altazimuth Mount: Think of this like a simple camera tripod. It’s easy to use, moves up/down and left/right, and is great for beginners who just want to point and look.
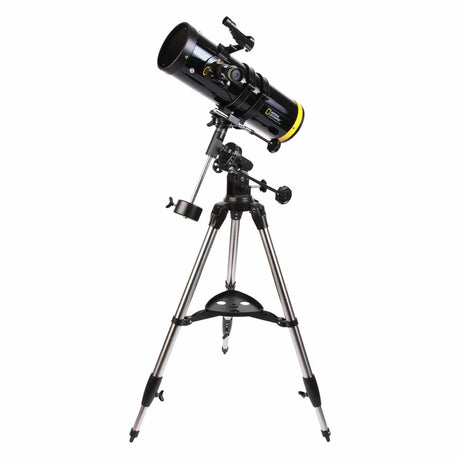
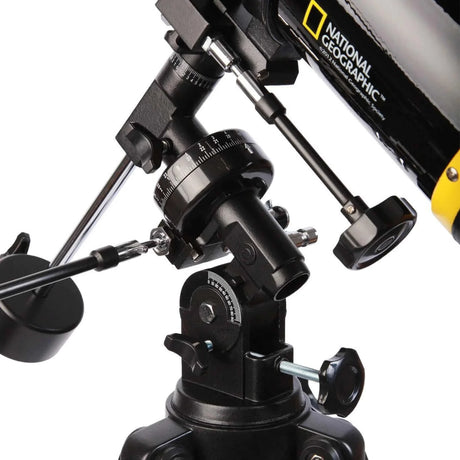
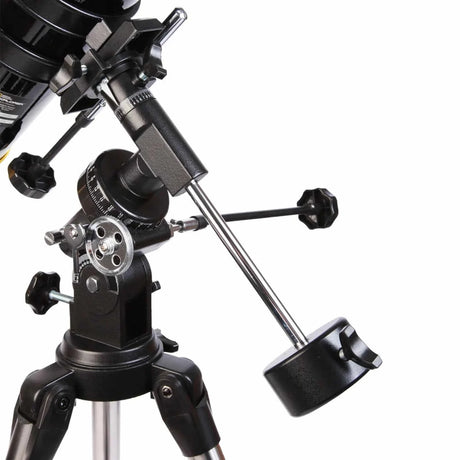
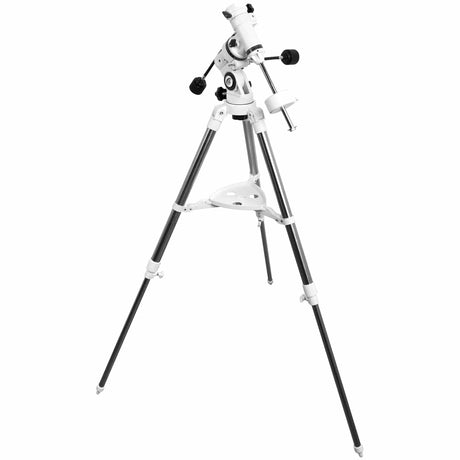
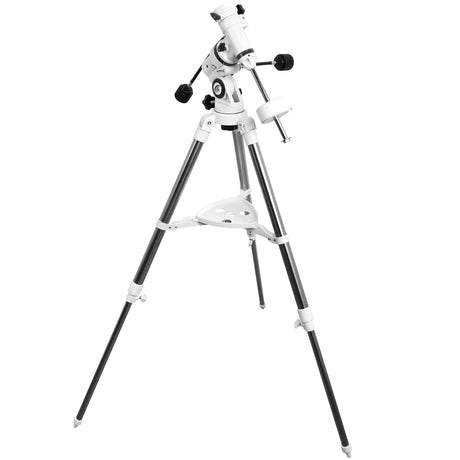
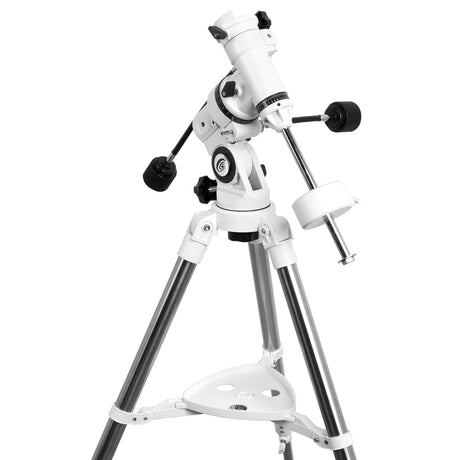
- Equatorial Mount: This mount is a bit more advanced. It’s aligned with the Earth’s rotation, making it easier to track objects as they move across the sky. It’s perfect if you plan to do longer observing sessions or get into astrophotography, but it can take a little practice to set up.
Common Misconceptions
- “More Magnification is Better”: Nope! As we mentioned earlier, aperture is what really matters for seeing faint objects. Don’t get caught up in the numbers game of high magnification.
- “Telescopes are Only for Nighttime”: You can actually use your telescope during the day too! Telescopes can help you observe terrestrial objects like distant landscapes or wildlife.
How to Choose the Right Telescope for You
Now that you’ve got the basics down, it’s time to focus on choosing a telescope that fits your needs. To make the best choice, you’ll need to consider a few key factors, including what you want to observe, how much you’re willing to spend, and where you’ll be using your telescope. Let’s break it down:
1. Budget: How Much Should You Spend?
Telescopes vary widely in price, but as a beginner, you don’t need to go overboard to find something great. Here’s what you can expect in different price ranges:
- Under $500: You’ll find beginner-friendly telescopes that are easy to use and perfect for lunar, planetary, and some bright star cluster viewing. In this range, expect smaller refractor telescopes or basic reflectors with apertures of 3 to 5 inches (75–130 mm). These are typically portable and straightforward to set up, but they won’t be powerful enough to reveal faint deep-sky objects like galaxies or nebulae in detail.
- $500–$1000: This is a sweet spot for beginners who want better performance without getting into too advanced gear. Telescopes in this range usually have larger apertures—6 to 8 inches (150–200 mm)—allowing you to see planets with more clarity and detail, and they’ll start to show faint deep-sky objects like nebulae and galaxies. You can also find computerized GoTo mounts in this range, which can automatically point your telescope at celestial objects.
- $1000 and up: In this range, you’ll find more advanced beginner or intermediate telescopes. These typically have larger apertures, more robust mounts, and enhanced features like equatorial mounts for better tracking and motorized GoTo systems. You can explore deep-sky objects with greater clarity, take long-exposure astrophotography, and enjoy a more precise stargazing experience. Packages in this range are perfect if you’re ready to dive deeper into the hobby and get more serious about astronomy.
2. What Do You Want to See?
The type of telescope you choose should be based on what you’re most excited to observe. Here’s a quick guide to help you decide:
- Planets and the Moon: If you’re primarily interested in observing bright objects like the moon, Jupiter, Saturn, or Mars, you’ll want a telescope with moderate aperture (4 to 6 inches) and long focal length for higher magnification. A refractor telescope or a compound (catadioptric) telescope with a focal length of 1000 mm or more will give you sharp, clear views of planets and the moon’s surface.
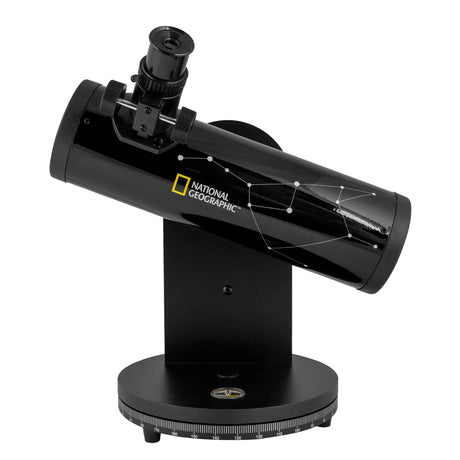
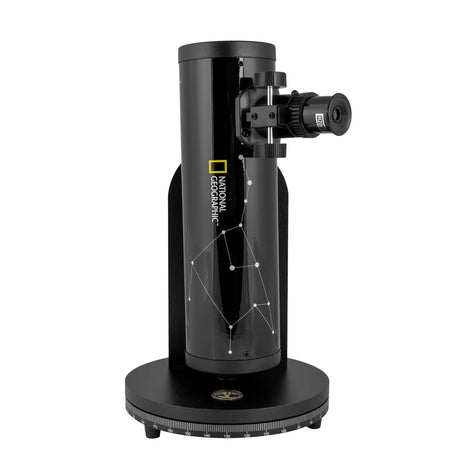
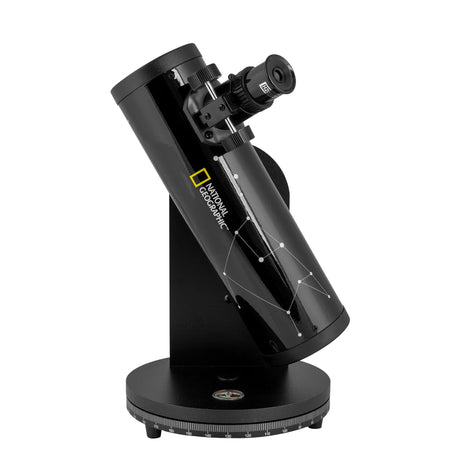
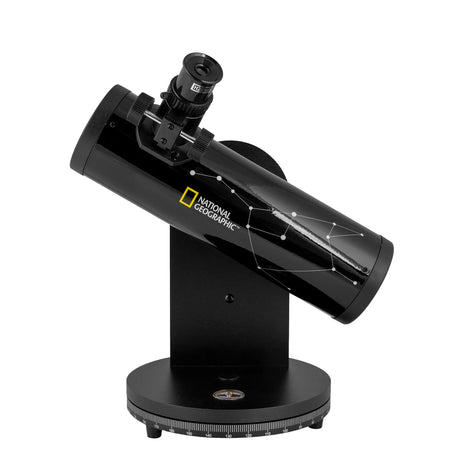
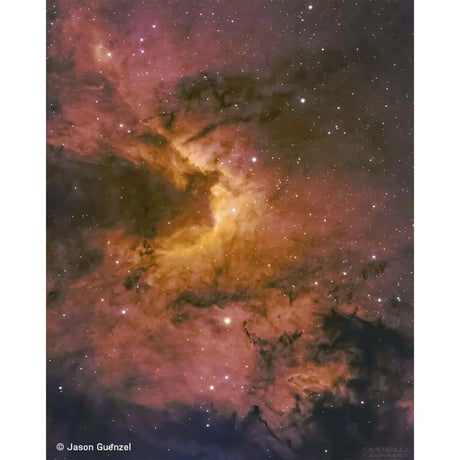
- Deep-Sky Objects: If you want to explore galaxies, star clusters, and nebulae, aperture is the key. A reflector telescope with an aperture of 6 to 8 inches or larger will let you gather more light and see these faint objects in greater detail. A Dobsonian telescope is an affordable and popular choice for deep-sky viewing, thanks to its large aperture and simple design.
- A Bit of Everything: Not sure what you want to focus on yet? A compound telescope (like a Schmidt-Cassegrainor Maksutov-Cassegrain) offers versatility for both planetary and deep-sky viewing. With these, you get a compact, portable design and a good balance of performance across a wide range of celestial objects.
3. Portability: Will You Be Taking Your Telescope on the Go?
Where you plan to use your telescope is another key factor to consider. If you’re lucky enough to live under dark skies or have easy access to an open backyard, you might not need to prioritize portability. However, if you’re planning to travel to dark-sky locations or simply want something easy to transport, here’s what to look for:
- Smaller Refractors or Compound Telescopes: These are typically lightweight, compact, and easy to set up. A 3 to 5-inch refractor or a 5 to 6-inch Schmidt-Cassegrain is a great choice if you want something portable. They’re ideal for packing up and heading to a dark-sky site.
- Larger Reflectors (Dobsonians): While Dobsonians offer excellent views, their large size makes them less portable. A 6 to 10-inch Dobsonian might be a bit bulky if you need to transport it frequently, but they’re perfect for stationary use in your backyard or local astronomy club events.
4. Ease of Use: How Beginner-Friendly Is It?
As a first-time telescope buyer, ease of use is crucial. You want something that won’t leave you frustrated or stuck trying to figure out how to set it up. Here are some features to consider:
Manual vs. Computerized (GoTo) Mounts:
- Manual Mounts: Simple to use and more affordable, but you’ll need to learn how to locate objects in the sky yourself. Altazimuth mounts move up, down, left, and right, making them intuitive for beginners.
- Computerized (GoTo) Mounts: These do the heavy lifting for you by automatically locating and tracking objects. If you’re not confident in navigating the night sky, a GoTo system can save you a lot of time and frustration. These mounts often come with databases of thousands of celestial objects and can guide you through the process of observing them.
Quick Set-Up: Look for telescopes that have a reputation for being easy to assemble and don’t require extensive calibration. You want to spend your time stargazing, not trying to figure out complex instructions. Models with no-tool assembly or pre-aligned optics are a plus.
5. Accessories: Do You Need Extras?
Some telescopes come with a few basic accessories, but you’ll likely want to add a few extras to improve your experience:
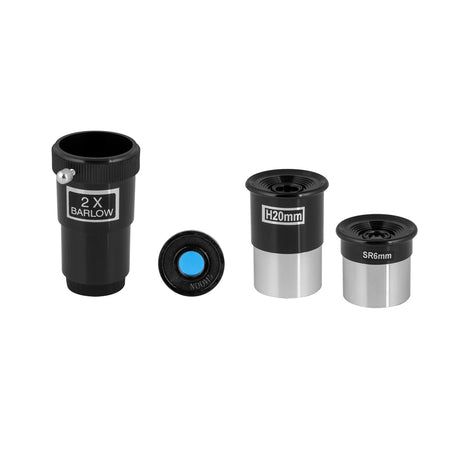
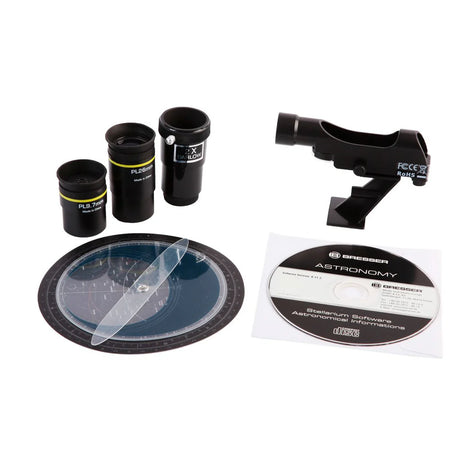
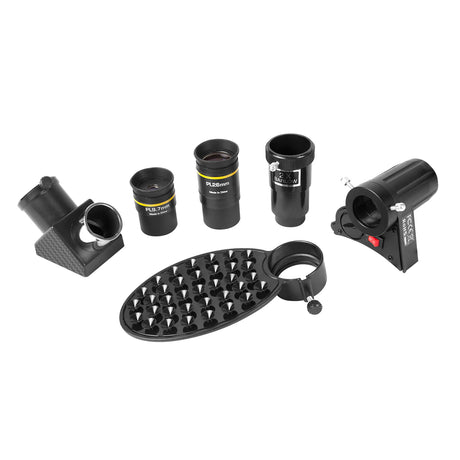
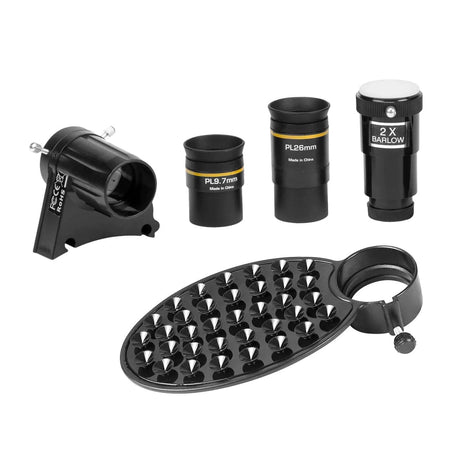
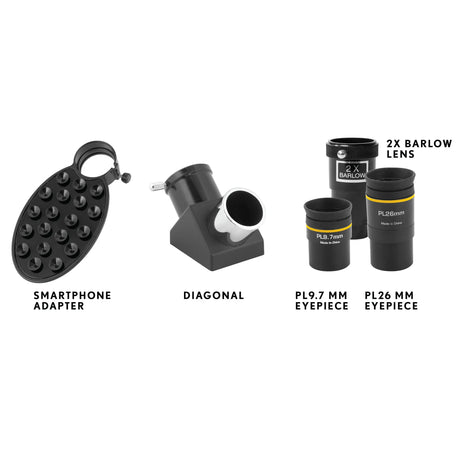
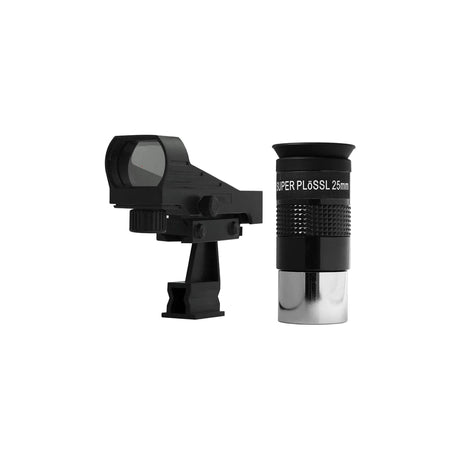
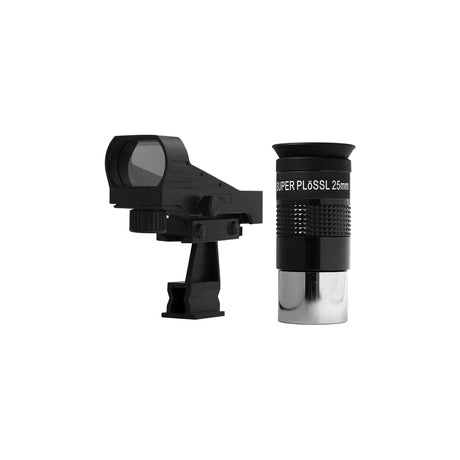
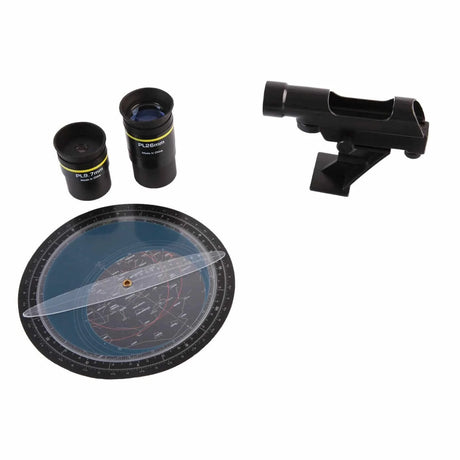
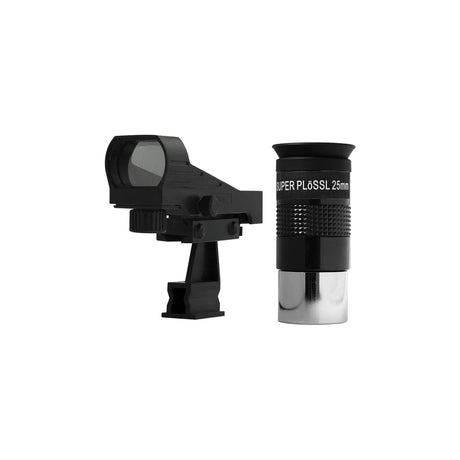
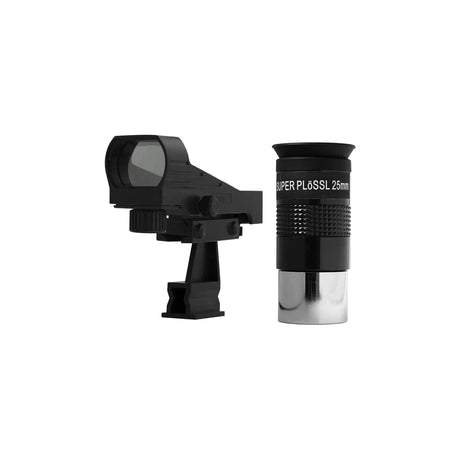
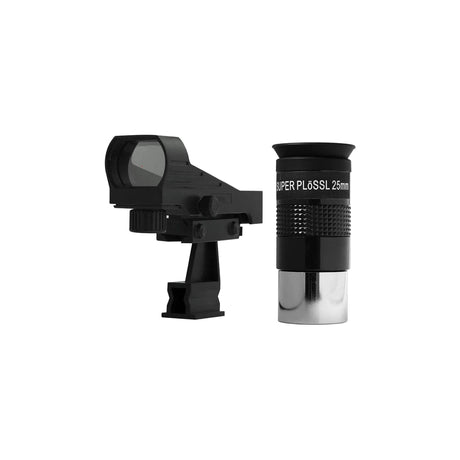
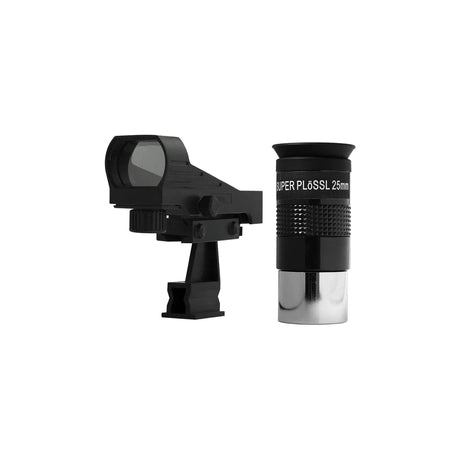
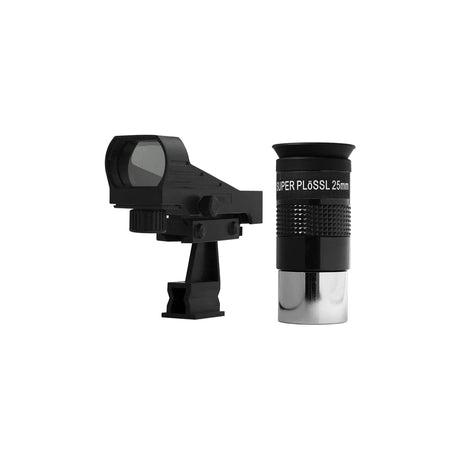
- Eyepieces: Most telescopes come with one or two basic eyepieces. However, investing in a few additional eyepieces with different focal lengths can significantly enhance your viewing experience. For example, a low-power eyepiece (25 mm) is great for wide views of star fields, while a high-power eyepiece (10 mm) will give you more detail when viewing planets.
- Barlow Lens: A Barlow lens is a great addition to double the magnification of your eyepieces without needing to buy more. For example, a 2x Barlow lens can make a 25 mm eyepiece behave like a 12.5 mm eyepiece, giving you more versatility.
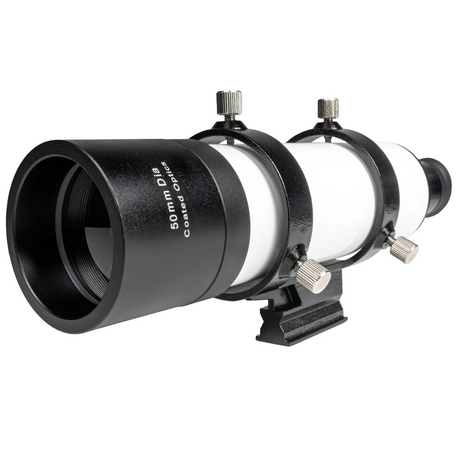
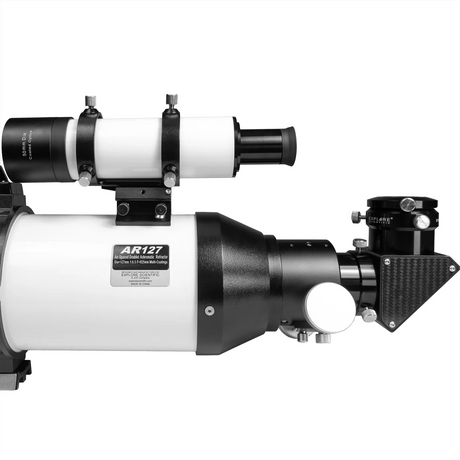
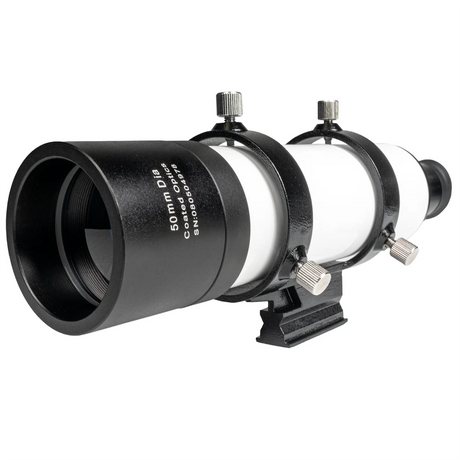
- Finder Scope or Red Dot Finder: A finder scope or red dot finder will make it easier to aim your telescope at specific objects. These tools give you a wider field of view, allowing you to quickly locate stars or planets before zooming in with your main eyepiece.
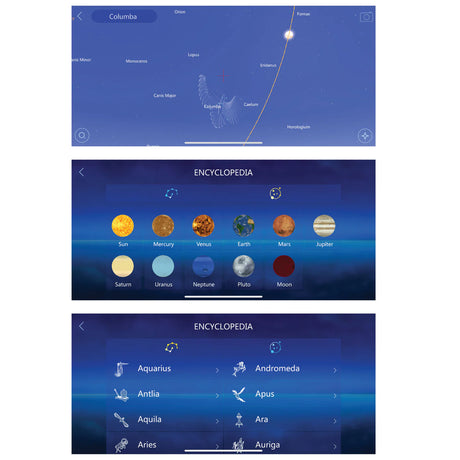
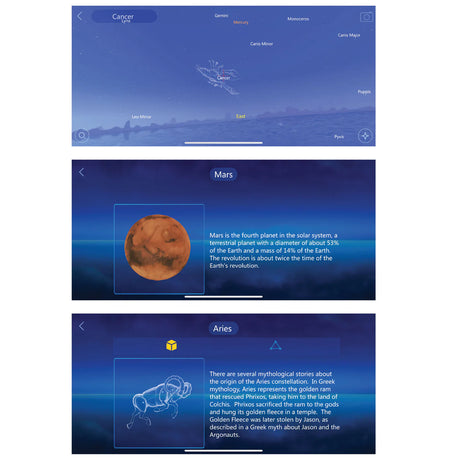
- Star Charts or Astronomy Apps: Navigating the night sky can be challenging for beginners. Having a star chart or using an astronomy app like SkySafari or Stellarium can help you identify constellations and locate celestial objects with ease.
Telescope Terms Made Easy
Feeling a little lost with all the technical terms? You’re not alone! Let’s break down some common telescope jargon so you can make sense of what really matters when choosing your first telescope.
Aperture: Your Telescope’s Light Bucket
Think of the aperture as your telescope’s “light bucket.” It’s the diameter of the telescope’s main lens or mirror and determines how much light your telescope can gather. The bigger the aperture, the more light your telescope collects, which means brighter, clearer views of faint objects.
- Why it matters: A larger aperture lets you see dimmer objects in the sky, like distant galaxies or nebulae. For beginners, an aperture between 4 to 6 inches (100 to 150 mm) is a good starting point.
Focal Length: How Far You Can Zoom
Focal length is the distance between your telescope’s lens or mirror and the point where the light comes into focus. It plays a big role in determining your magnification (how much you can zoom in on objects).
- Why it matters: A longer focal length gives you more magnification, which is great for zooming in on planets or the moon. However, don’t get too hung up on focal length—aperture is still the more important factor for overall image quality.
Focal Ratio (f/stop): Balancing Brightness and Detail
Focal ratio (also called f/stop) is the focal length of the telescope divided by the aperture. It’s essentially a measure of how "fast" or "slow" the telescope gathers light and affects how bright or detailed the image will be. Lower focal ratios (f/5, f/6) are "faster" and provide brighter images with wider fields of view, while higher focal ratios (f/10, f/12) are "slower" and offer more detailed views with greater magnification.
- Why it matters: A lower focal ratio (f/5 to f/6) is great for observing large star clusters and nebulae, while a higher focal ratio (f/10 to f/12) is ideal for viewing planets or the moon in more detail. Understanding focal ratio helps you balance brightness and magnification based on what you want to observe.
Magnification: Don’t Go Overboard
Magnification tells you how much larger an object will appear when you look through the telescope. You can calculate it by dividing the focal length of the telescope by the focal length of the eyepiece.
- Why it matters: High magnification isn’t always better. Too much zoom can make objects look blurry, especially if the telescope’s aperture isn’t big enough to support it. As a rule of thumb, aim for 50x to 100x magnification for planets and the moon, and remember that more magnification doesn’t always mean a better view.
Limiting Magnitude: How Faint Can You See?
Limiting magnitude refers to the faintest star or celestial object that a telescope can detect. The larger the aperture, the fainter the objects you’ll be able to see. It’s measured on a scale where higher numbers represent fainter objects.
- Why it matters: For example, the unaided human eye under dark skies can typically see stars up to a magnitude of 6. A telescope with a 4 to 6-inch aperture will allow you to see objects with magnitudes up to 12 to 13, while larger telescopes can reach even fainter magnitudes. If you’re interested in observing dim galaxies or nebulae, understanding limiting magnitude is key.
Field of View (FOV): How Much Sky You Can See
Field of view refers to how much of the sky you can see through your telescope at once. It’s usually measured in degrees, and a wider field of view is helpful when you’re trying to locate objects in the sky.
- Why it matters: A wider FOV makes it easier to find objects, especially when you’re just starting out. Low-power eyepieces give you a wider field of view, which is useful for scanning large areas of the sky.
Collimation: Keeping Your Telescope Aligned
This is just a fancy word for aligning the mirrors in your telescope (for reflectors). Don’t worry, it’s not as intimidating as it sounds. Collimation helps ensure you get the sharpest possible images by making sure the mirrors are perfectly aligned.
- Why it matters: Over time, reflectors can lose alignment due to movement or handling. Regular collimation keeps your telescope in tip-top shape for the best views. You won’t have to worry about this as much with refractors or compound telescopes.
Telescope FAQs for Beginners
What’s the Best Telescope for Seeing Planets?
What’s the Best Telescope for Seeing Planets?
If you're interested in observing planets like Jupiter, Saturn, or Mars, you’ll want a telescope with good magnification and sharp clarity.
Refractors and compound telescopes tend to be great for planetary viewing, as they provide crisp images of bright objects.
Look for a telescope with an aperture of at least 4 to 6 inches and a focal length that allows for moderate magnification (50x to 150x).
A Barlow lens can also help boost magnification without sacrificing image quality.
Can I See Deep-Sky Objects Like Galaxies and Nebulae?
Can I See Deep-Sky Objects Like Galaxies and Nebulae?
Yes, but deep-sky viewing requires a larger aperture to gather enough light from faint, distant objects.
For galaxies, nebulae, and star clusters, a reflector telescope with an aperture of 6 inches or more will give you the best results.
You’ll also need to observe from a dark location—city lights can wash out these faint objects. Don’t worry if you live in a light-polluted area, though!
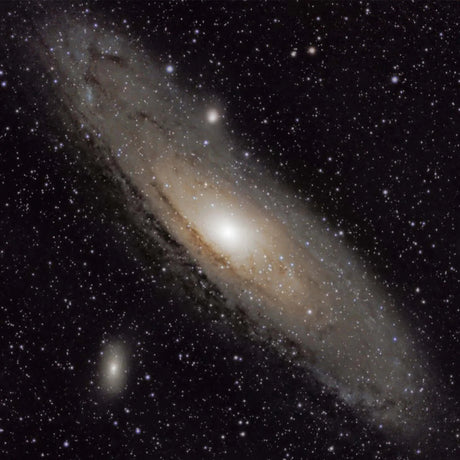
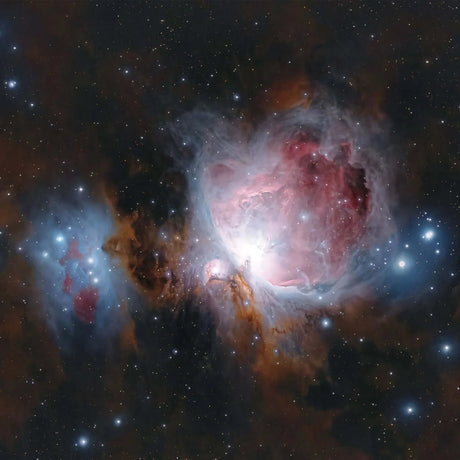
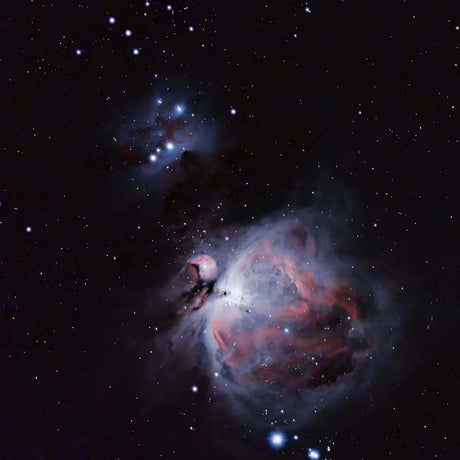
Even a smaller telescope can reveal brighter objects like the Andromeda Galaxy or the Orion Nebula.
Should I Buy a Computerized (GoTo) Telescope?
Should I Buy a Computerized (GoTo) Telescope?
A GoTo telescope can be a game-changer for beginners who aren’t familiar with navigating the night sky. With the push of a button, the telescope automatically locates and tracks objects for you.
If you’re looking for convenience and have a bit more budget to spend, a GoTo mount is a great option.
However, if you prefer a more hands-on approach (or are on a tighter budget), a manual mount can be just as rewarding—and you’ll learn a lot about the sky as you find objects yourself.
How Much Should I Spend on My First Telescope?
How Much Should I Spend on My First Telescope?
It depends on your budget and what you want to see. For beginners, you can find good quality telescopes in the $300 to $500 range.
Telescopes in this price range offer a balance between affordability and performance, allowing you to see the moon, planets, and some bright deep-sky objects.
If you’re willing to spend more, you’ll get larger apertures and extra features like computerized mounts.
On the other hand, if you’re just starting out and want something simple, there are decent models available for under $300.
What’s the Difference Between Reflector and Refractor Telescopes?
What’s the Difference Between Reflector and Refractor Telescopes?
- Refractor Telescopes: These use lenses to focus light and are generally easier for beginners because they require little maintenance. They’re excellent for viewing planets, the moon, and other bright objects.
- Reflector Telescopes: These use mirrors instead of lenses and offer larger apertures at lower prices, making them great for deep-sky viewing (like galaxies and nebulae). However, they do require occasional mirror alignment (collimation).
If you’re looking for simplicity and ease of use, a refractor might be a better choice. If you’re eager to explore deeper into the universe, a reflector could give you more bang for your buck.
Do I Need to Know a Lot About Astronomy to Use a Telescope?
Do I Need to Know a Lot About Astronomy to Use a Telescope?
Not at all! You can get started with minimal knowledge, especially if you opt for a GoTo telescope or use a smartphone app to help locate celestial objects. Over time, you’ll naturally learn more as you observe the sky.
If you enjoy discovering things on your own, a basic telescope and a simple star chart are all you need to begin your stargazing journey.
How Do I Maintain My Telescope?
How Do I Maintain My Telescope?
Most beginner telescopes don’t require much maintenance, but here are a few tips to keep your telescope in good shape:
- Keep the optics clean: Dust and dirt can build up on lenses and mirrors, so make sure to cover your telescope when not in use. Clean the optics carefully with a soft, lint-free cloth and a little lens cleaner if needed—never use harsh chemicals!
- Store it safely: Always store your telescope in a dry, cool place. Humidity can cause condensation and potentially damage the optics.
- Collimate if needed: If you have a reflector telescope, you’ll occasionally need to align the mirrors (called collimation). It sounds complicated, but most modern telescopes make this process easy with adjustment knobs. Refractors and compound telescopes usually don’t need this kind of upkeep.
Can I Do Astrophotography with a Beginner Telescope?
Can I Do Astrophotography with a Beginner Telescope?
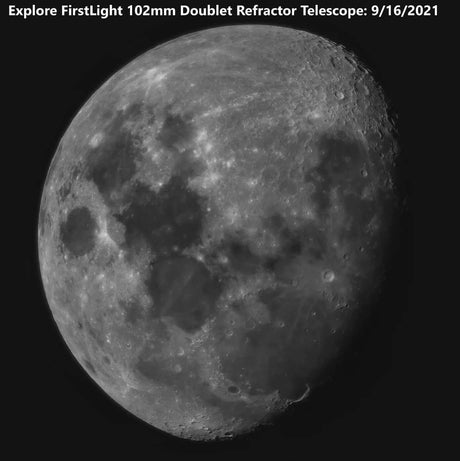
Yes, but with some limitations. Many beginner telescopes can support basic astrophotography, especially if you want to capture images of the moon and planets.
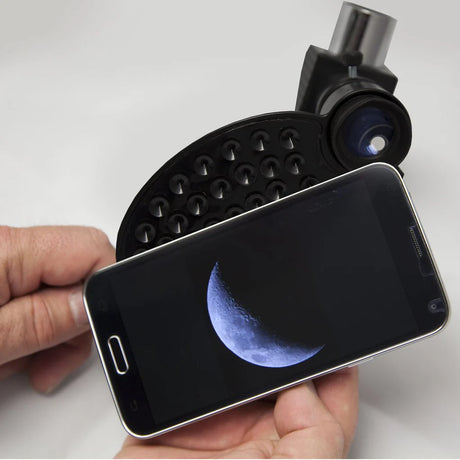
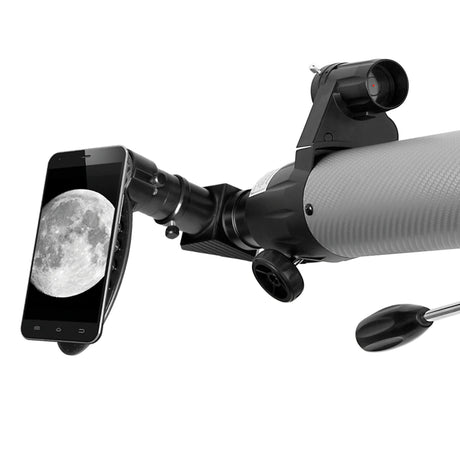
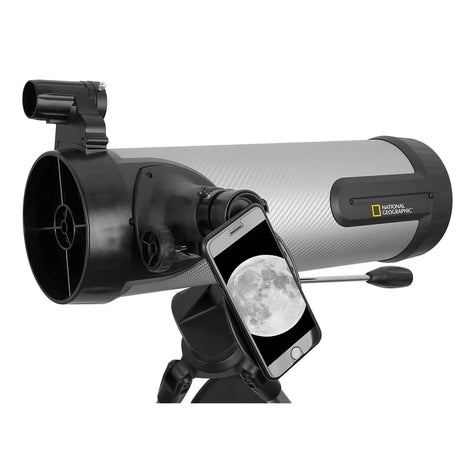
A smartphone adapter can help you take quick photos by attaching your phone to the eyepiece.
For more serious astrophotography (like capturing detailed images of galaxies or nebulae), you’ll need a telescope with an equatorial mount and possibly a specialized camera.
Do I Need Extra Eyepieces?
Do I Need Extra Eyepieces?
Most beginner telescopes come with one or two eyepieces, which are usually enough to get you started. However, as you gain experience, you may want to expand your collection to get different views of the sky.
A low-power eyepiece is great for scanning wide areas of the sky, while a high-power eyepiece gives you more detailed views of planets or craters on the moon.
Adding a Barlow lens is an easy way to double the magnification of your existing eyepieces without buying a lot of extras.
Can I Use My Telescope During the Day?
Can I Use My Telescope During the Day?
Yes! Telescopes aren’t just for stargazing—you can use them for daytime terrestrial viewing as well. Whether it’s spotting wildlife, landscapes, or distant landmarks, a refractor or compound telescope works well during the day.
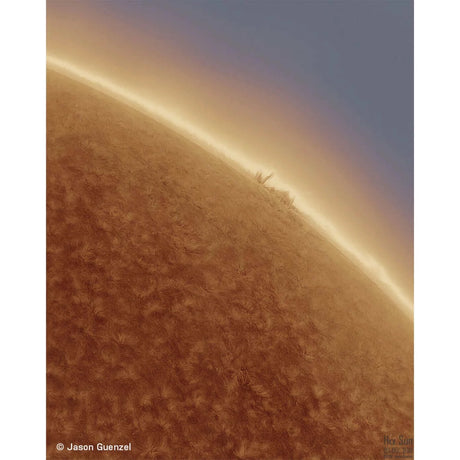
Just remember, never look at the sun through your telescope unless you have a special solar filter designed for safe solar viewing.
Start Your Stargazing Journey
Congratulations! You’ve made it through the basics of choosing a telescope, and now you’re ready to take your first step into the incredible world of stargazing. Whether you're dreaming of exploring the moon's craters, spotting Saturn's rings, or discovering distant galaxies, the right telescope will help unlock the mysteries of the universe. Remember, stargazing is as much about the journey as it is about the destination—so don’t rush. Take your time to enjoy the process of learning the sky and discovering new wonders every night.
Quick Recap: Your Next Steps
- Pick the Right Telescope: Choose a telescope that fits your budget and your goals. Whether it’s a simple refractor or a powerful reflector, there’s no wrong choice—just the right one for you.
- Don’t Stress About the Details: You don’t need to know everything about astronomy to get started. Use this guide, and take it step by step.
- Get Out There and Explore: The best way to learn is to use your telescope. Spend some time under the stars, experiment with different eyepieces, and let curiosity be your guide.
Happy Stargazing!
Remember, the stars have been there for billions of years, and they’ll be there tomorrow night too. So whether you’re taking your telescope to a dark sky park, or just setting it up in your backyard, enjoy every moment. The universe is full of wonders—you just need to look up.

